Why installing open source packages using sources is cool and how to start today
Until you start installing packages on Linux/UNIX systems using sources, you will always be very dependent on your distribution or vendors to stay up to date.
Installing from sources may not be for everyone, but I recommend it for novice and advanced Linux/UNIX users alike, as it offers tremendous benefits:
- Ability to fine tune the package according to your needs
- You almost always end up with a much faster application
- You get the latest security updates immediately
- You learn a whole lot
So how do you install from sources?
- Download the package from URL upstream
The package may be in several forms: PACKAGE.tar.gz, PACKAGE.tar.bz2, PACKAGE.xz, or clone from a github repository i.e. git clone [URL]
- Unpack the package inside your sources directory e.g. /usr/src:
tar zxvf PACKAGE.tar.gz -C /usr/src
tar jxvf PACKAGE.tar.bz2 -C /usr/src
tar xvf PACKAGE.tar.xz -C /usr/src - IMPORTANT: Read the following two files if available: README (or README.md) and INSTALL. I can not stress how important it is to read the above files. The package
maintainer will usually include notes on how to compile and install the package - Change to source directory of the package
cd /usr/src/PACKAGE-VERSION/ - Compile
./configure - Install
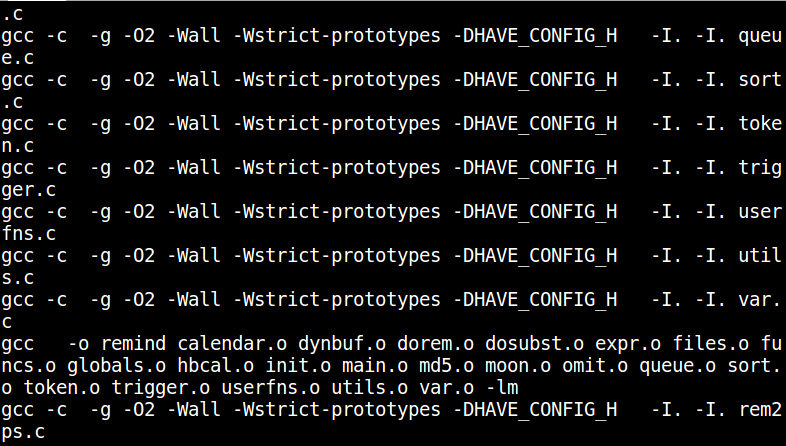
make && make install
Thats it! If all went well especially during the make, you should be able to run your package. Sometimes, the configure command will specify that
a dependency is missing. You will need to install it before you proceed. This is why it is important that you read the README and INSTALL files.
How to add a printer in Linux using the command line (CLI)
Managing printers in Linux has become easier lately. With just a few clicks in your GNOME, KDE, UNITY, or other desktop, you could be printing away in just seconds. But what about the command line Interface? Here too, a simple command is all you need, and in a few steps your printer should be setup
Before you start, ensure that the CUPS package is installed on your Linux system and if not, install it using your package manager e.g. For Redhat based systems:
dnf install cups
Alternatively, you may download CUPS and PPD files direct from the CUPS website at: https//www.cups.org/
1. Find the Postscript Printer Description (PPD) file for your printer. Typically installed with the cups package and stored under: /usr/share/cups/model/. Also look under /usr/share/ppd/cupsfilters
2. Run the command lpinfo -l to get a list of available printers and drivers i.e. device-uri
3. Add your printer using the following command:
lpadmin -p “HP-LaserJet-CM3530-1” -D “Human Resources Department” -P /usr/share/ppd/cupsfilters/HP-Color_LaserJet_CM3530_MFP-PDF.ppd -E -v file:///dev/PRINTER_PATH
-v represents the device-uri as seen in step 3. For a detailed explanation of the options, type: man lpadmin


