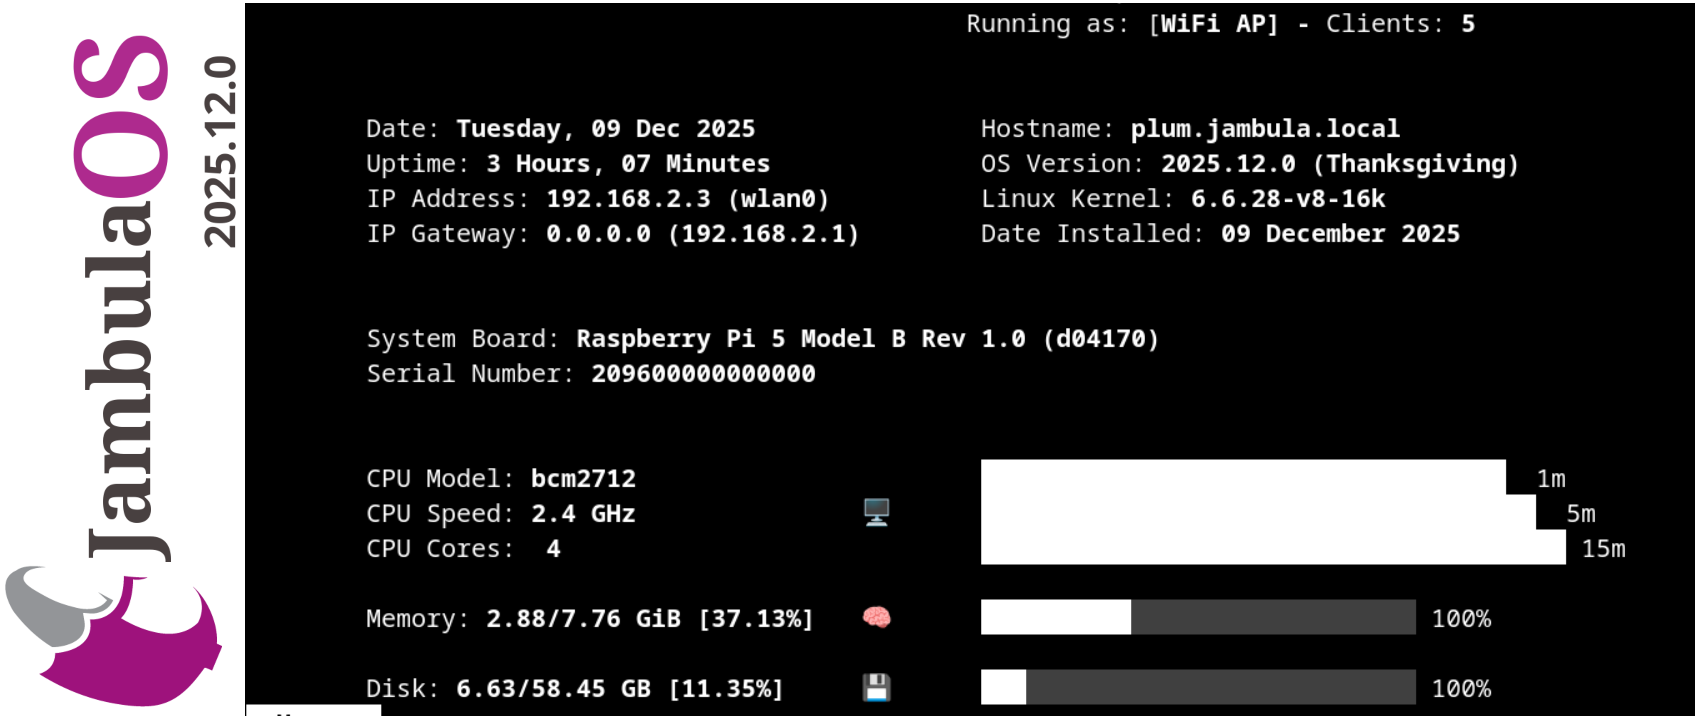
Jambula OS 2025.12.0 is Here! Now featuring a Robust, Cloud-Free, Private File Sharing Platform
I am excited to announce the immediate release of Jambula OS version 2025.12.0!
If you are a developer, a dedicated tech enthusiast, or a passionate DIY maker looking for a local and open smart home, this major release is built for you. Designed for the Raspberry Pi 5 and other SBCs, Jambula OS is the free, open-source Linux platform that I started with the goal of putting you back in control.
Do you already own a Raspberry Pi 5? Or perhaps you’re hoping that Santa listened closely this year? Either way, this major update makes it the perfect time to download the latest image of Jambula OS and transform your Pi into the brain of your next project.
What’s New in 2025.12.0
I focused on two main areas: making the system easier to use and making your data more private.
- Robust, Cloud-Free File Sharing and Collaboration: Tired of trusting your data to massive cloud providers? I included a Robust, Cloud-Free, Private File Sharing Platform in Jambula OS. Easily share documents and media privately with zero reliance on external cloud services. Your files, your rules.
- Complete Setup Menu Overhaul: I listened to your feedback! The new menus ensure a vastly improved initial setup and onboarding process, making the journey from flashing the image to running your first service smoother and faster than ever before.
- Home Assistant Version 2025.12.2: Your smart home deserves the best. This release ships with the latest Home Assistant version 2025.12, offering all the newest features of this world-class, local-first smart home platform.
For Valued Supporters: Enhanced Tools and Advanced Capabilities
To thank those who support the future of the Jambula OS project, I included a powerful suite of advanced tools in this edition:
Jambula Radio (In-House Smart Radio Broadcast): Discover how to listen to the radio the Smart way with this innovative, in-house solution.
A powerful, flexible NVR for intelligently organizing and monitoring your CCTV cameras, featuring optional AI integration..
Hotspot & Remote Access Tools: Comprehensive solution providing a robust Captive Portal for secure guest network access and specialized Managed Remote Access capabilities.
Features Available to All: Core Stability and Critical Performance
I’ve implemented several bug fixes and performance tweaks to ensure this is the most stable and reliable version of Jambula OS I’ve ever released.
Download Jambula OS 2025.12.0 Today!
https://jambula.org
#JambulaOS #IoT #DIY #RaspberryPi #Development #SmartHome #HomeAssistant #Linux #FOSS #OpenSource
Jambula OS Has a New Home!
I am excited to share a major milestone in the Jambula OS journey. It’s official new home will now be at:
Jambula OS is a lightweight, fast and flexible free open source operating system built with one mission in mind: to empower creators, developers and communities. Whether you are building, experimenting or creating, Jambula OS is designed to give you the freedom and performance you need.
More Updates Are Coming
I have been working hard behind the scenes, and some major improvements and new features are on the way. Stay tuned – the next chapter of Jambula OS is going to be exciting!
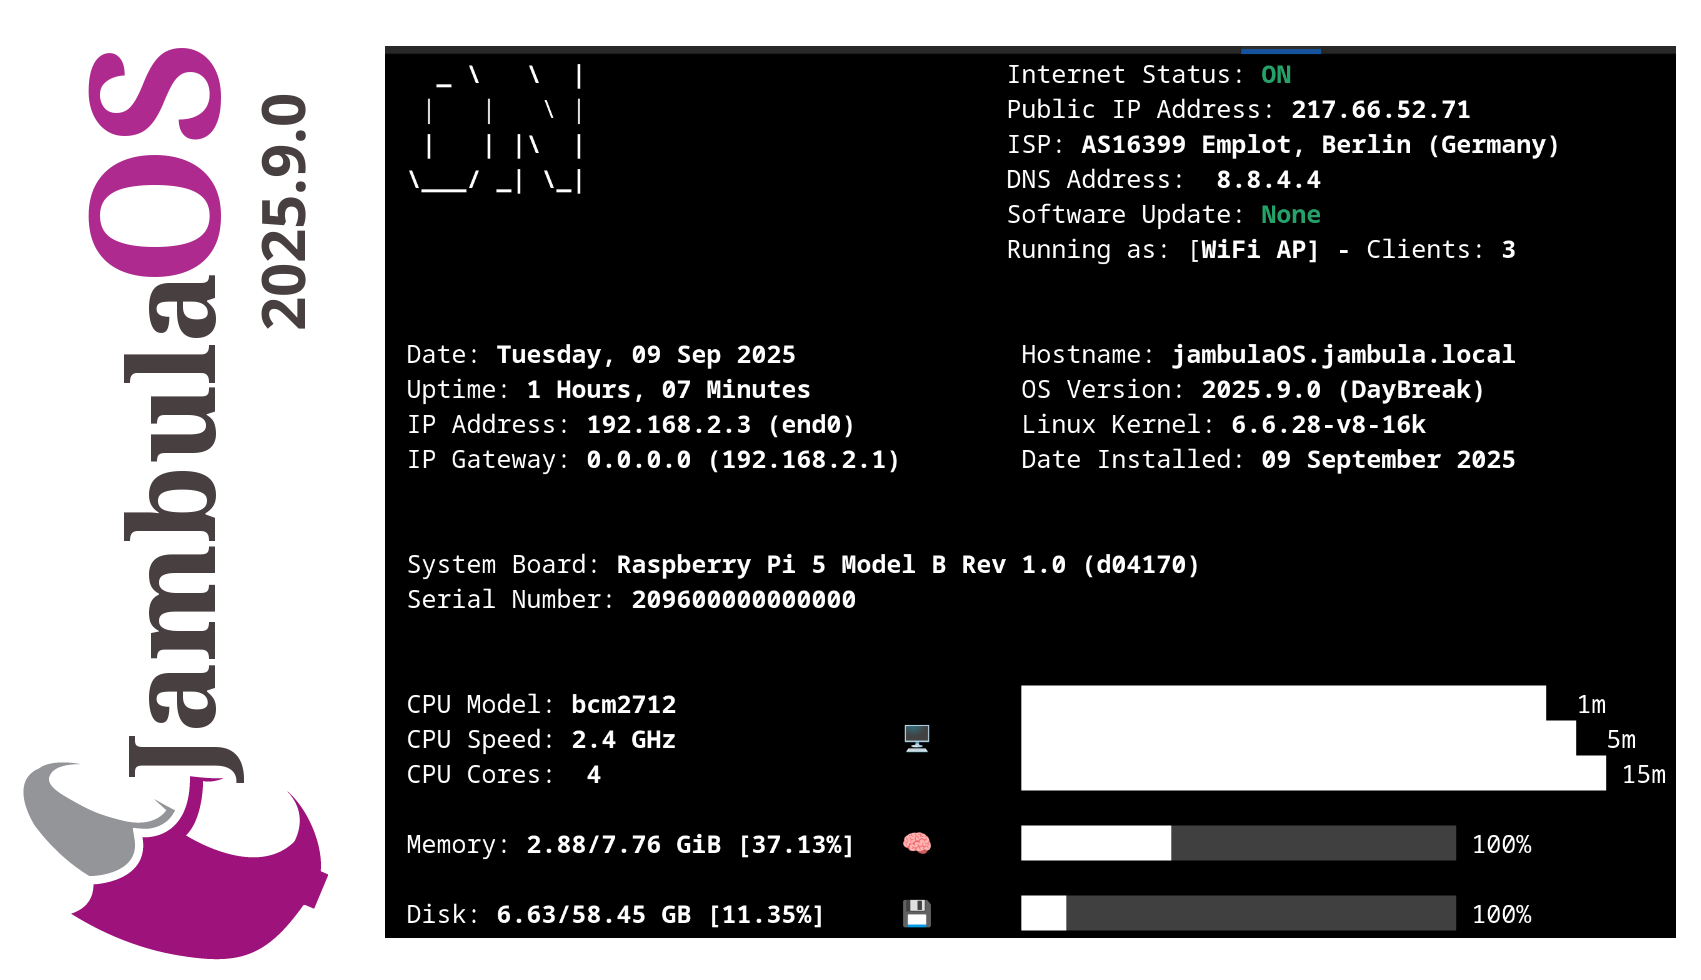
Jambula OS 2025.9.0 Released – Now with Bluetooth Speaker Support!
I have uploaded the latest 𝐉𝐚𝐦𝐛𝐮𝐥𝐚 𝐎𝐒 image – version 𝟐𝟎𝟐𝟓.𝟗.𝟎. This release continues the work I have been doing to make Jambula OS, a reliable, lightweight Linux platform for embedded SoC devices like the Raspberry Pi 5. So if you are building smart automation solutions on embedded platforms, this update is definitely worth checking out.
𝐇𝐢𝐠𝐡𝐥𝐢𝐠𝐡𝐭𝐬 𝐢𝐧 𝐭𝐡𝐢𝐬 𝐫𝐞𝐥𝐞𝐚𝐬𝐞:
𝐁𝐥𝐮𝐞𝐭𝐨𝐨𝐭𝐡 𝐬𝐩𝐞𝐚𝐤𝐞𝐫 𝐬𝐮𝐩𝐩𝐨𝐫𝐭: Added support for Bluetooth audio devices which is ideal for voice prompts or music output.
𝐒𝐰𝐢𝐭𝐜𝐡𝐞𝐝 𝐭𝐨 𝐊𝐞𝐚 𝐃𝐇𝐂𝐏: Replaced dnsmasq with 𝐊𝐞𝐚 𝐃𝐇𝐂𝐏 for better dynamic addressing management.
𝐖𝐢𝐅𝐢 𝐡𝐨𝐭𝐬𝐩𝐨𝐭 𝐜𝐥𝐢𝐞𝐧𝐭 𝐜𝐨𝐮𝐧𝐭 𝐢𝐧 𝐌𝐎𝐓𝐃: See how many clients are connected to your hotspot right in the system’s MOTD.
𝐐𝐑 𝐜𝐨𝐝𝐞 𝐨𝐧 𝐢𝐧𝐢𝐭𝐢𝐚𝐥 𝐥𝐨𝐠𝐢𝐧: Displays a QR code linking to vendor/device info, useful for branding or support.
𝐈𝐦𝐩𝐫𝐨𝐯𝐞𝐝 𝐬𝐞𝐭𝐮𝐩 𝐭𝐨𝐨𝐥𝐬: Smoother first-time setup experience with updated scripts.
𝐇𝐨𝐦𝐞 𝐀𝐬𝐬𝐢𝐬𝐭𝐚𝐧𝐭 𝐮𝐩𝐝𝐚𝐭𝐞𝐝: Latest Home Assistant version included to keep your platform up to date.
𝐁𝐮𝐠 𝐟𝐢𝐱𝐞𝐬: Minor fixes including firewall and weather integration improvements.
𝐋𝐞𝐚𝐫𝐧 𝐦𝐨𝐫𝐞 𝐚𝐛𝐨𝐮𝐭 𝐉𝐚𝐦𝐛𝐮𝐥𝐚 𝐎𝐒:
https://code.jambula.net/zikusooka/Jambula-OS
Hass Core Installer 2025.9.0 Released
I have released Hass Core Installer 2025.9.0! There are no changes in this version besides upgrade to the latest Home Assistant.
Hass Core Installer is a free and open source tool that helps you install and manage Home Assistant Core using the manual installation method. Even though this method is now officially deprecated, I know some people still prefer it for its flexibility and control.
You can find the project and source code here: https://github.com/zikusooka/hass-core-installer
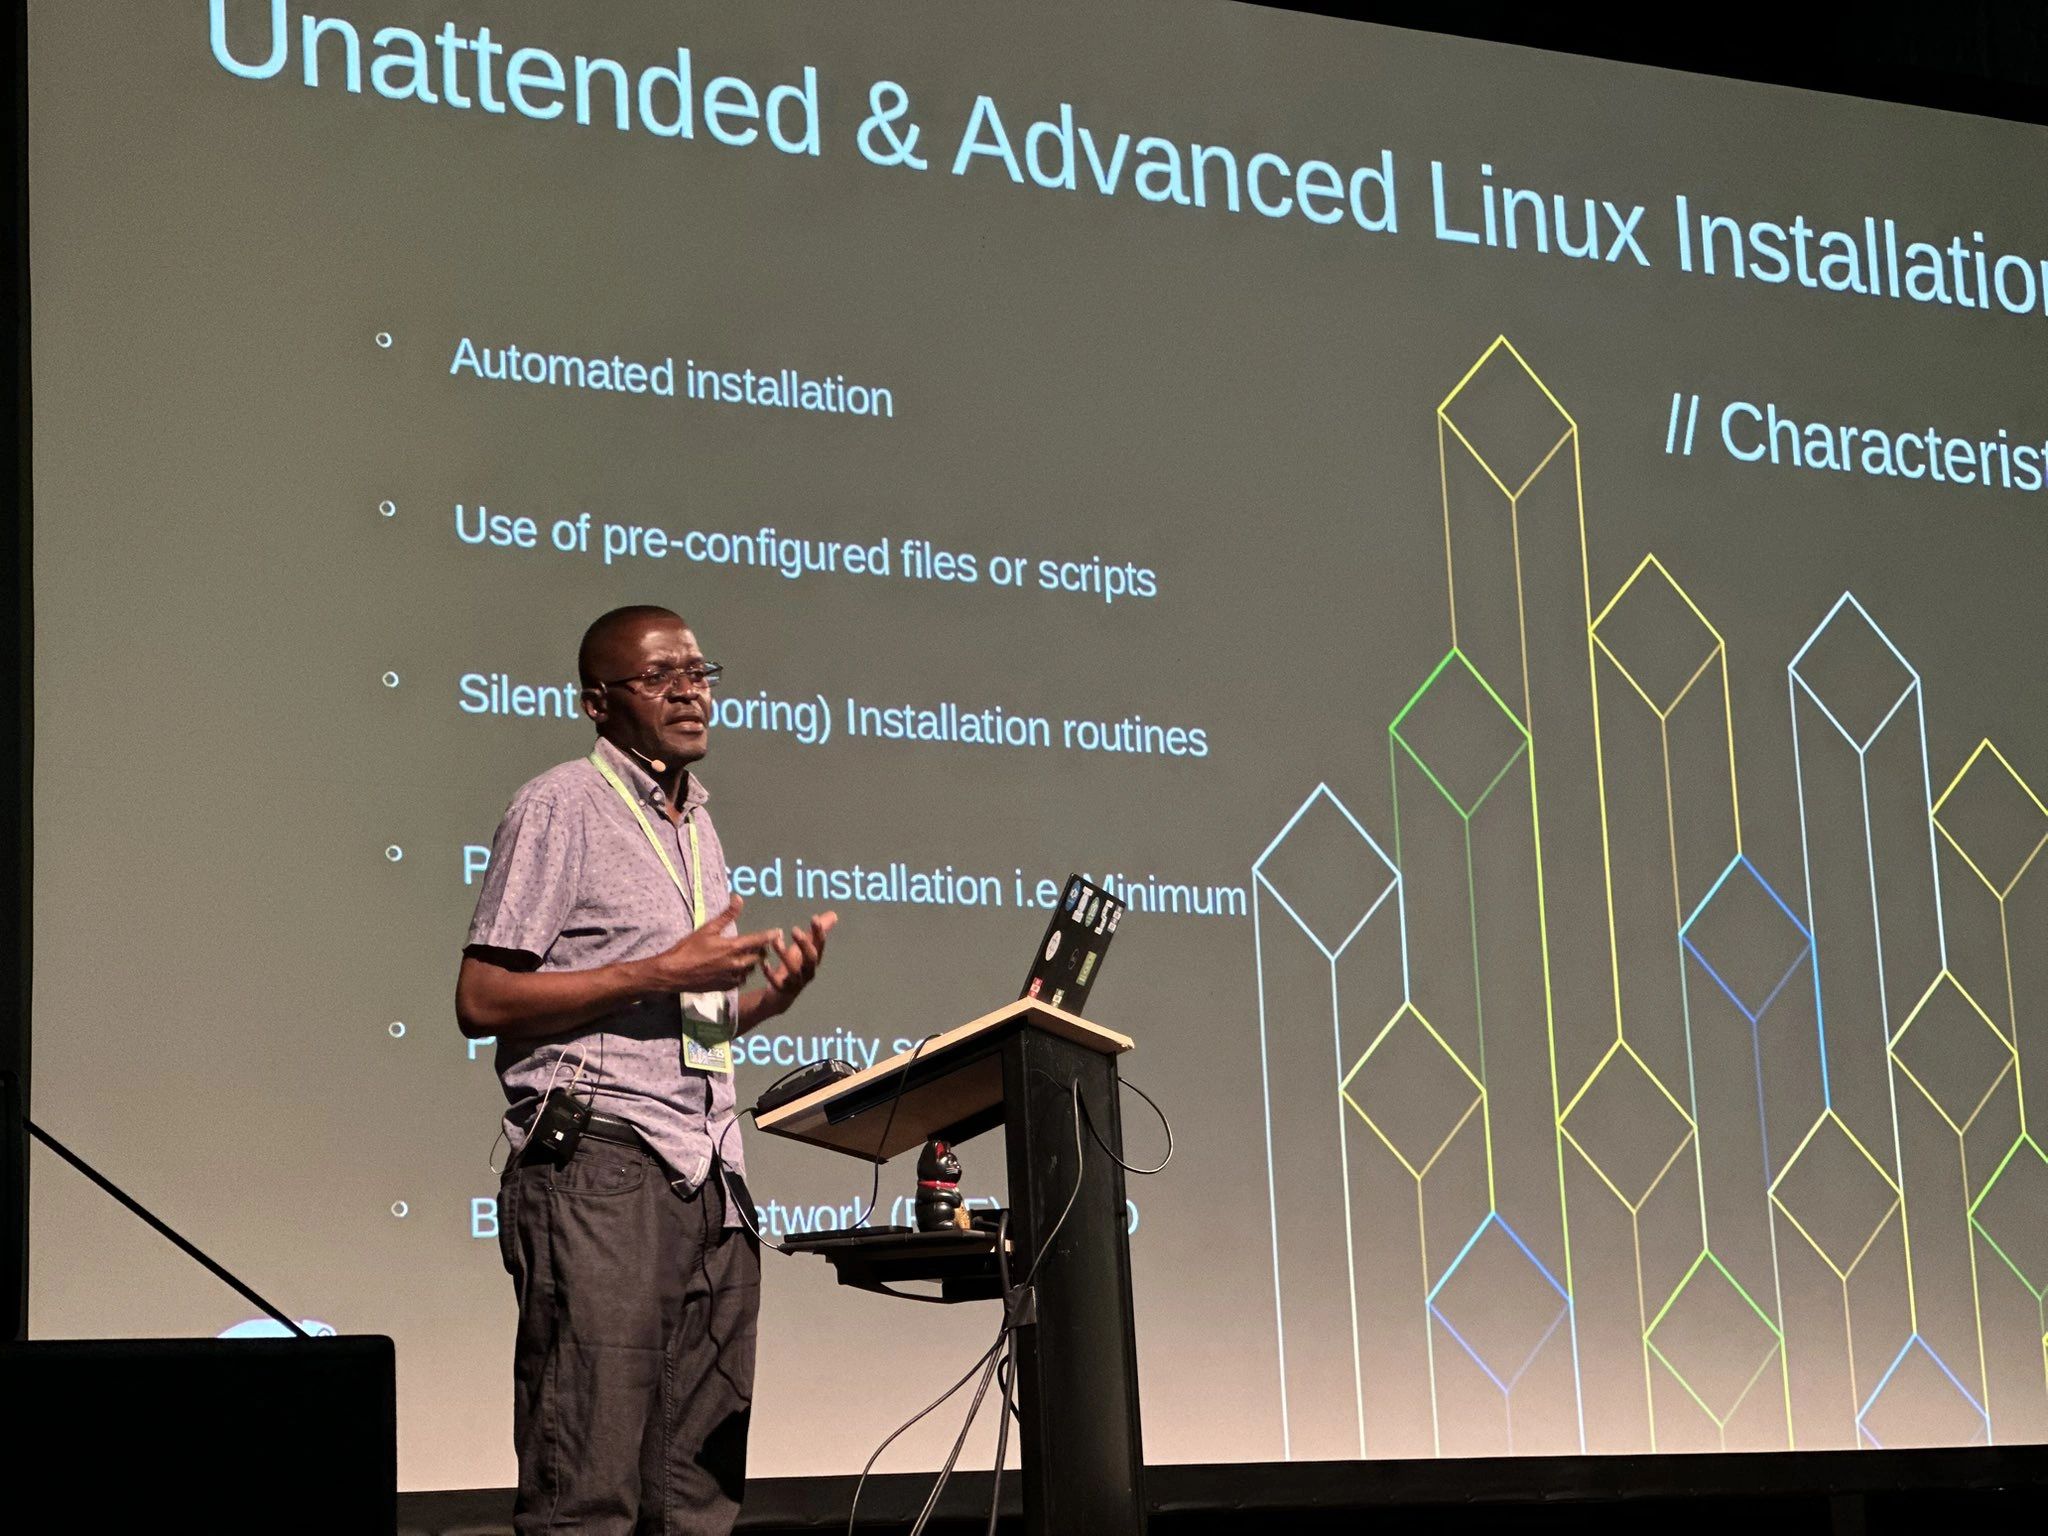
Demo of Agama Linux Installer at OpenSUSE Conference 2025 – Nuremberg, Germany
Over the weekend at the OpenSUSE Conference 2025 in Nuremberg, Germany, I had the pleasure of showcasing Agama, the innovative new Linux installer set to debut in openSUSE Project Leap 16 and SUSE Linux Enterprise Server 16.
While still in active development, this tool is shaping up impressively and promises to redefine the future of unattended Linux installations.
Curious to learn more or get started? Explore the full documentation here:
https://agama-project.github.io/docs/user/
An Alternative Way to Install Home Assistant Core
Hass-Core-Installer Version 2025.5.1 Released
Official support for installing Home Assistant Core, Supervised, and some other methods will soon end (see announcement). If you still want to run Home Assistant Core on your own hardware, I have good news!
I’ve released a new and improved version of hass-core-installer. This tool makes it easy to install Home Assistant Core on many types of systems, including ARM64 devices like Raspberry Pi 5.
You can try it now by visiting the GitHub page.
Why Use Hass-Core-Installer?
- Works on Many Systems: Supports most system types, especially ARM64.
- Works Offline: You can install Home Assistant Core even without an internet connection.
- Future-Proof: Keeps working even after official support ends.
- For Power Users: Best for people who already know how to set up Home Assistant.
What’s New in Version 2025.5.1?
- Upgrade Home Assistant to the latest version
Updated Home Assistant Core to the latest version of 2025.5.1 - Faster Installs with uv:
The installer now uses uv, a new and very fast Python package manager. This means Home Assistant installs faster and package problems are easier to fix.
(Learn more about uv here). - Supports More Python Versions:
You can now use different versions of Python. By default, it uses Python 3.13.3. - Better Troubleshooting:
Improved tests and logging help you find and fix problems more easily.
How to Get Started
- Go to the hass-core-installer GitHub page.
- Follow the instructions to download and use the tool.
If you’re an experienced Home Assistant user and want to keep running it your way, give hass-core-installer a try! Your feedback and suggestions are welcome on GitHub.
Buildroot and GCC 15: Fixes for m4 and Other Packages
This week, I tried using Buildroot on my new Fedora 42 system, which comes with GCC 15. Right away, the build failed when compiling the package host-m4.
After looking into it, I found that GCC 15 has stricter rules that cause some Buildroot packages to break-not just m4, but also others like gmp. This means if you are using Buildroot on a Linux system with GCC 15, you might run into similar problems.
What to do?
There are patches available to fix these issues, including one I submitted for m4. You can find them here:
https://lists.buildroot.org/pipermail/buildroot/2025-April/777274.html
What’s next?
Hopefully, these problems will be fixed in the official Buildroot updates soon. Until then, applying these patches will help you build successfully with GCC 15.
If you use Buildroot with the latest Linux and GCC versions, keep an eye out for updates and patches like these!
Update [May 5, 2025]:
This patch has now been committed upstream to buildroot.
It will be applied as a workaround only when host gcc 15 is detected.
For more details, please check the full commit here:
https://gitlab.com/buildroot.org/buildroot/-/commit/7a07a9d155b8f601d68f07ee0ed1dc8d48907644
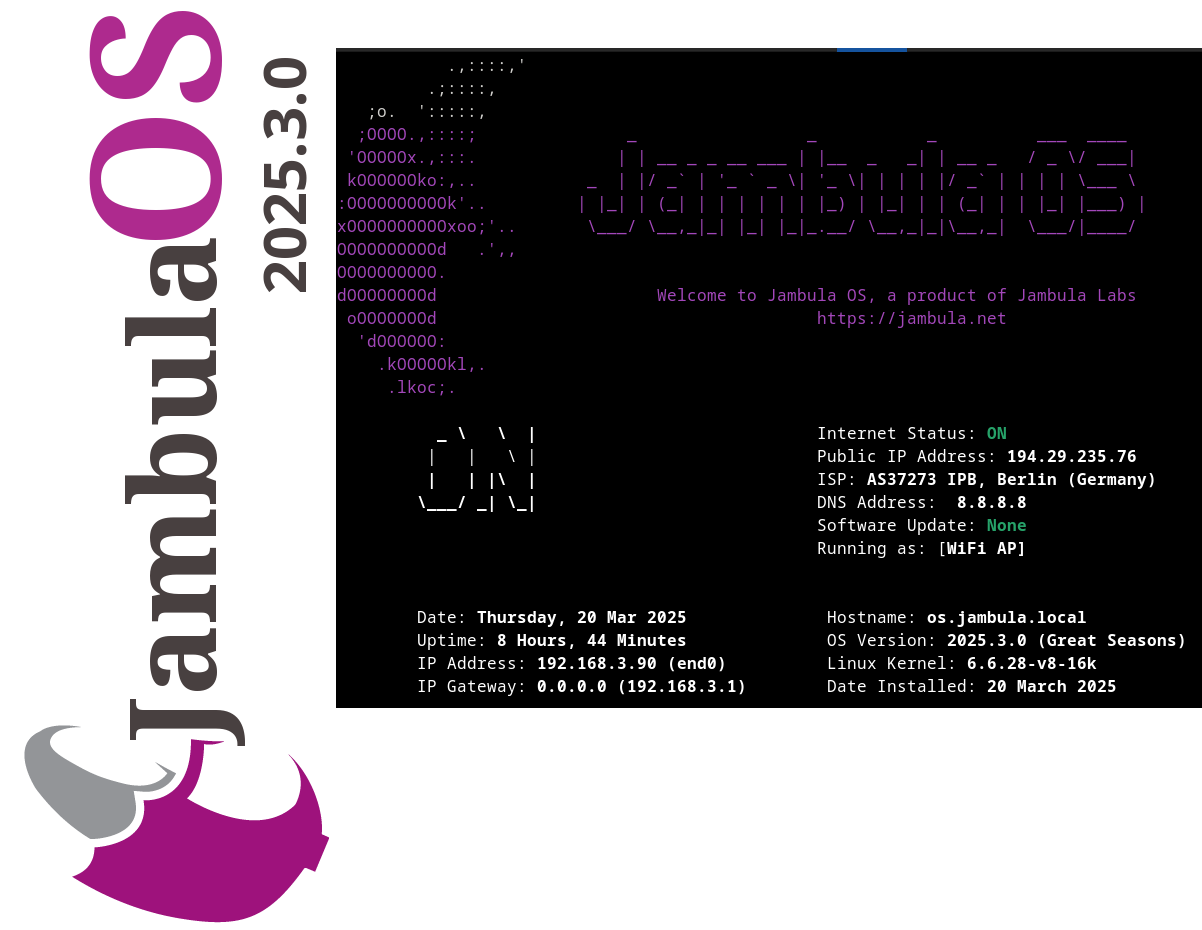
Releasing Jambula OS Linux – version 2025.3.0
🚀 I have uploaded the latest image of Jambula OS Linux version 2025.3.0 (Great Seasons)! 💻✨
While this is mostly a maintenance release, I’ve snuck in some exciting features like:
✅ Remote connections just got easier with Tailscale support! 🌐
✅ Audio calendar alerts are now possible with Radicale 📅🔔
✅ Nginx web/proxy server support 🖥️
✅ Geolocation tool to help you pinpoint device location 📍
For more information about Jambula OS Linux, including instructions on how to download and install it, please visit:
https://github.com/zikusooka/Jambula-OS
Jambula OS Linux – Version 2025.1.0 Released
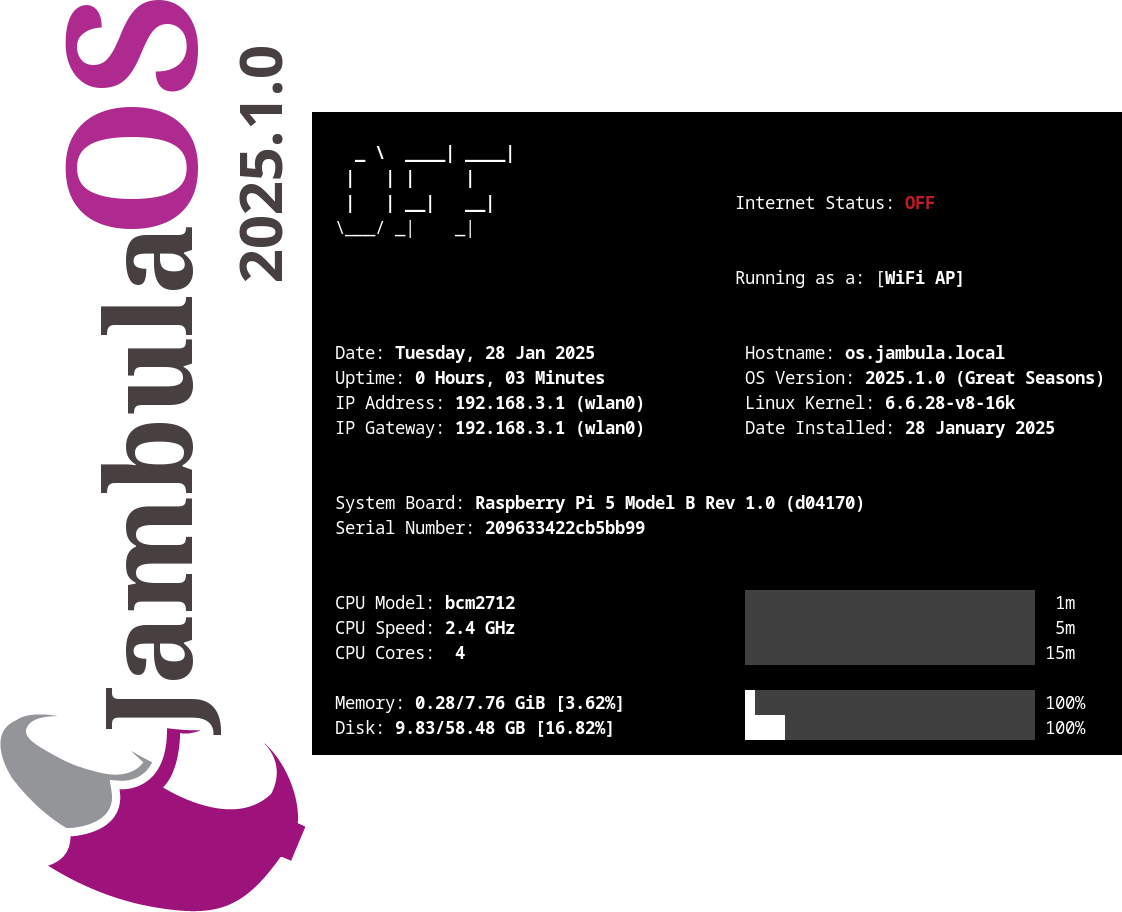
I have just compiled and released a new image for Jambula OS Linux version 2025.1.0! This exciting update features a range of innovative enhancements, including:
🌟 Seamless integration with the latest Home Assistant smart home software
📅 Radicale, the lightweight and powerful CalDAV/CardDAV server for all calendaring needs
🎵 A local music server that supports audio announcements and alerts
🕰️ A talking clock feature that announces the time at hourly intervals
🌦️ Periodic weather updates delivered through voice alerts tailored to your location
📷 MQTT-based triggers activated by motion detection from the built-in camera server
For more information about Jambula OS Linux, including instructions on how to download and install it, please visit:
https://github.com/zikusooka/Jambula-OS
Hass Core Installer, a new Home Assistant Installer and upgrade tool for Linux
I’m excited to announce that I have uploaded a new tool called HASS Core Installer. As you have guested, its a handy tool that makes it very easy to install, upgrade, and uninstall Home Assistant Core on Linux. So weather you are a beginner, intermediate, or advanced Home Assistant user, this tool is just what you need if any of the official and recommended methods are not sufficient for your use case.
I initially developed this tool for use on Jambula OS, a custom tailored Linux operating system designed for SoC devices such as the Raspberry Pi. However, you can use it on any Linux distribution such as Ubuntu, Fedora, OpenSUSE, Ubuntu, Debian etc.
HASS Core Installer also works off-line allowing for local installations and upgrades of Home Assistant in scenarios where there’s no access to the Internet.
To get started or contribute to this project, check out the HASS Core Installer repository on my Github!

