

Hass Core Installer Updated to 2025.12.2
A new version of Hass Core Installer is now available: 2025.12.2.
While this is a standard update, it includes a crucial fix for better stability:
- Home Assistant Core: Upgraded to the latest stable version, 2025.12.2.
- Bluetooth Management Fix: This version resolves the permissions error related to Bluetooth management (“Missing NET_ADMIN/NET_RAW capabilities”). I’ve updated the systemd unit to include the required NET_ADMIN and NET_RAW capabilities, ensuring smooth adapter recovery and operation.
You can grab the new installer and view the source code here: https://github.com/zikusooka/hass-core-installer

Jambula OS 2025.9.0 Released – Now with Bluetooth Speaker Support!
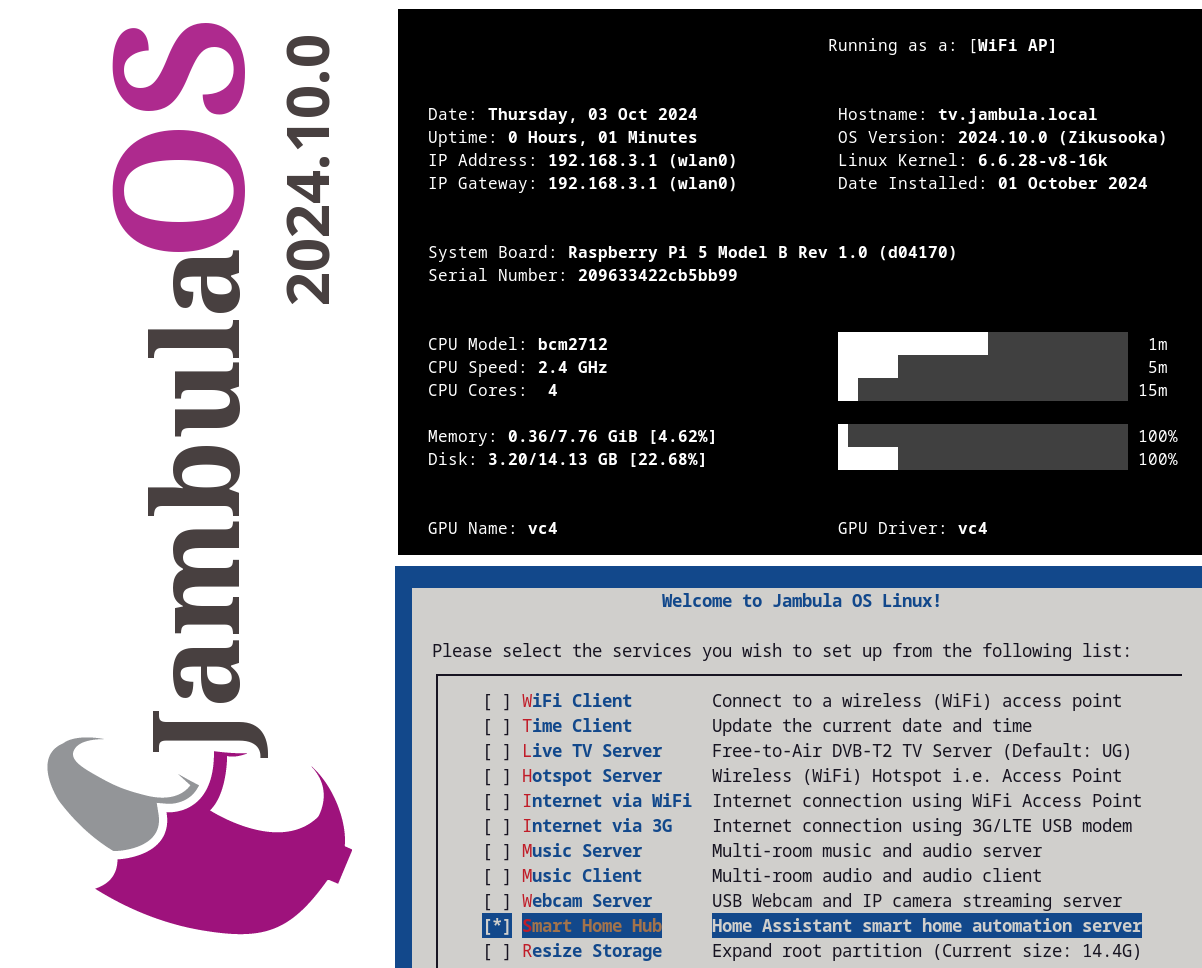
I have uploaded the latest 𝐉𝐚𝐦𝐛𝐮𝐥𝐚 𝐎𝐒 image – version 𝟐𝟎𝟐𝟓.𝟗.𝟎. This release continues the work I have been doing to make Jambula OS, a reliable, lightweight Linux platform for embedded SoC devices like the Raspberry Pi 5. So if you are building smart automation solutions on embedded platforms, this update is definitely worth checking out.
𝐇𝐢𝐠𝐡𝐥𝐢𝐠𝐡𝐭𝐬 𝐢𝐧 𝐭𝐡𝐢𝐬 𝐫𝐞𝐥𝐞𝐚𝐬𝐞:
𝐁𝐥𝐮𝐞𝐭𝐨𝐨𝐭𝐡 𝐬𝐩𝐞𝐚𝐤𝐞𝐫 𝐬𝐮𝐩𝐩𝐨𝐫𝐭: Added support for Bluetooth audio devices which is ideal for voice prompts or music output.
𝐒𝐰𝐢𝐭𝐜𝐡𝐞𝐝 𝐭𝐨 𝐊𝐞𝐚 𝐃𝐇𝐂𝐏: Replaced dnsmasq with 𝐊𝐞𝐚 𝐃𝐇𝐂𝐏 for better dynamic addressing management.
𝐖𝐢𝐅𝐢 𝐡𝐨𝐭𝐬𝐩𝐨𝐭 𝐜𝐥𝐢𝐞𝐧𝐭 𝐜𝐨𝐮𝐧𝐭 𝐢𝐧 𝐌𝐎𝐓𝐃: See how many clients are connected to your hotspot right in the system’s MOTD.
𝐐𝐑 𝐜𝐨𝐝𝐞 𝐨𝐧 𝐢𝐧𝐢𝐭𝐢𝐚𝐥 𝐥𝐨𝐠𝐢𝐧: Displays a QR code linking to vendor/device info, useful for branding or support.
𝐈𝐦𝐩𝐫𝐨𝐯𝐞𝐝 𝐬𝐞𝐭𝐮𝐩 𝐭𝐨𝐨𝐥𝐬: Smoother first-time setup experience with updated scripts.
𝐇𝐨𝐦𝐞 𝐀𝐬𝐬𝐢𝐬𝐭𝐚𝐧𝐭 𝐮𝐩𝐝𝐚𝐭𝐞𝐝: Latest Home Assistant version included to keep your platform up to date.
𝐁𝐮𝐠 𝐟𝐢𝐱𝐞𝐬: Minor fixes including firewall and weather integration improvements.
𝐋𝐞𝐚𝐫𝐧 𝐦𝐨𝐫𝐞 𝐚𝐛𝐨𝐮𝐭 𝐉𝐚𝐦𝐛𝐮𝐥𝐚 𝐎𝐒:
https://code.jambula.net/zikusooka/Jambula-OS
Hass Core Installer 2025.9.0 Released
I have released Hass Core Installer 2025.9.0! There are no changes in this version besides upgrade to the latest Home Assistant.
Hass Core Installer is a free and open source tool that helps you install and manage Home Assistant Core using the manual installation method. Even though this method is now officially deprecated, I know some people still prefer it for its flexibility and control.
You can find the project and source code here: https://github.com/zikusooka/hass-core-installer

Hass-Core-Installer: Keeping Home Assistant Core Alive
It is finally happening – Home Assistant Core, along with other legacy installation methods and 32-bit system support, is officially being deprecated. The Home Assistant team announced this major shift in their recent blog post, signaling the end of an era for many longtime users who have relied on Core and Supervised installs for years. Starting with the 2025.12 release, support for these installation methods and older architectures like i386, armhf, and armv7 will be phased out.
For most users, the path forward is clear: migrate to Home Assistant OS or Home Assistant Container. These methods offer a streamlined, more stable experience with ongoing official support. But what about those of us who love the flexibility and control that Home Assistant Core provides? Or those running on hardware that does not fit the new supported architectures?
Hass-Core-Installer to the rescue
If you are a developer or among the few who want to continue running Home Assistant Core despite the official deprecation, there’s no need to despair! I created Hass-Core-Installer, a free and open source tool designed to help you install and maintain Home Assistant Core on your own terms. The latest offline version supported is 2025.5.3.
Hass-Core-Installer is a practical, easy-to-customize script for users who want to keep using Core without relying on official support. Whether you are a developer, hobbyist, or power user, this tool helps you to keep your Home Assistant setup running smoothly, even as the official landscape changes.
Why Hass-Core-Installer?
- Flexibility: Retain full control over your Home Assistant environment.
- Compatibility: Continue using Core on your preferred hardware, including some 32-bit systems.
Ready to Keep Your Home Assistant Core Setup?
If you want to learn more and why I created it, visit my blog post here: Hass-Core-Installer or if you’re ready to try it, go to GitHub where you will find everything you need to install Home Assistant Core confidently and keep it running well beyond the official end-of-life.
While the Home Assistant project moves forward with new priorities, the spirit of customization and hands-on control lives on through projects like Hass-Core-Installer. If you are passionate about Home Assistant Core, this is your chance to stay ahead and keep your smart home running your way.

An Alternative Way to Install Home Assistant Core
Hass-Core-Installer Version 2025.5.1 Released
Official support for installing Home Assistant Core, Supervised, and some other methods will soon end (see announcement). If you still want to run Home Assistant Core on your own hardware, I have good news!
I’ve released a new and improved version of hass-core-installer. This tool makes it easy to install Home Assistant Core on many types of systems, including ARM64 devices like Raspberry Pi 5.
You can try it now by visiting the GitHub page.
Why Use Hass-Core-Installer?
- Works on Many Systems: Supports most system types, especially ARM64.
- Works Offline: You can install Home Assistant Core even without an internet connection.
- Future-Proof: Keeps working even after official support ends.
- For Power Users: Best for people who already know how to set up Home Assistant.
What’s New in Version 2025.5.1?
- Upgrade Home Assistant to the latest version
Updated Home Assistant Core to the latest version of 2025.5.1 - Faster Installs with uv:
The installer now uses uv, a new and very fast Python package manager. This means Home Assistant installs faster and package problems are easier to fix.
(Learn more about uv here). - Supports More Python Versions:
You can now use different versions of Python. By default, it uses Python 3.13.3. - Better Troubleshooting:
Improved tests and logging help you find and fix problems more easily.
How to Get Started
- Go to the hass-core-installer GitHub page.
- Follow the instructions to download and use the tool.
If you’re an experienced Home Assistant user and want to keep running it your way, give hass-core-installer a try! Your feedback and suggestions are welcome on GitHub.

Hass Core Installer, a new Home Assistant Installer and upgrade tool for Linux
I’m excited to announce that I have uploaded a new tool called HASS Core Installer. As you have guested, its a handy tool that makes it very easy to install, upgrade, and uninstall Home Assistant Core on Linux. So weather you are a beginner, intermediate, or advanced Home Assistant user, this tool is just what you need if any of the official and recommended methods are not sufficient for your use case.
I initially developed this tool for use on Jambula OS, a custom tailored Linux operating system designed for SoC devices such as the Raspberry Pi. However, you can use it on any Linux distribution such as Ubuntu, Fedora, OpenSUSE, Ubuntu, Debian etc.
HASS Core Installer also works off-line allowing for local installations and upgrades of Home Assistant in scenarios where there’s no access to the Internet.
To get started or contribute to this project, check out the HASS Core Installer repository on my Github!
Jambula OS Linux now offers support for Home Assistant
🚀✨ Exciting news for smart home enthusiasts! I have added support for Home Assistant Core installs & upgrades to Jambula OS (starting with version 2024.10.0) 🎉
⚙️ Jambula OS is a custom Linux operating system 🐧 designed specifically for SoC devices like the Raspberry Pi 5
⬇️ You can download it here: https://github.com/zikusooka/Jambula-OS/
🏡 Upgrade today and kickstart your journey to creating a private, offline smart home 💡hub!
Open source software tools I used while preparing for Creative Freedom Summit 2024
This week I will be presenting at the Creative Freedom Summit 2014. In case you don’t already know about it, the Creative Freedom Summit is a virtual conference dedicated solely to the features and benefits of Open Source creative tools.
My talk at this open source summit will be focused on JambulaTV, a smart home hub I built using only Free/Libre open source software (FLOSS) tools. You can read the details of what my talk is about at:
To prepare for my presentation, and in the spirit of open source software, I exclusively used the following open source tools:
LibreOffice Impress: Used to create the slide show
LibreOffice Impress is part of the LibreOffice suite and is used to create powerful and nice looking slide shows for presentations
https://www.libreoffice.org/discover/impress
OBS Studio: Used to record the video session
OBS Studio is a free and open-source, cross-platform screen-casting and streaming app. It is available and packaged for nearly all the major Linux distributions
GIMP: Used to create or edit the graphics used in the slide show
GNU Image Manipulation Program, commonly known by its acronym GIMP, is a free and open-source raster graphics editor used for image manipulation and image editing, free-form drawing, transcoding between different image file formats, and more specialized tasks.
FFMpeg: Used to clean up the audio/video output file
FFmpeg is a free and open-source software project consisting of a suite of libraries and programs for handling video, audio, and other multimedia files and streams.
Jitsi: To remotely connect with the summit hosts for the virtual presentation
Jitsi is a free and open-source multiplatform voice, video conferencing and instant messaging applications for the Web platform, Windows, Linux, macOS, iOS and Android.
How to receive Linux server alerts on your phone via WhatsApp
In my last article, I wrote about how to receive Linux server alerts on your phone via telegram. While telegram has a rich feature set, it is still not as popular as whatsapp at least in most regions. Almost, everyone I know is using whatsapp. With the recent addition of end-to-end ecryption, I’ve since relaxed my negative opinions of this service. Therefore, I decided to write a follow-up to my previous article, and show you how to get alerts from your Linux server via whatsapp. I will not delve into the setup of icinga2, however, once you are able to send messages to whatsapp, things should be pretty much self explanatory.
Thanks to Tarek Galal, who wrote a python library called yowsup to interface with whatsapp API.
First install it as follows:
pip install yowsup2
If installation fails, ensure that your have installed all the required dependencies on your Linux box which include python2.6+, python-dateutil, argparse,readline, pillow. If you intend to use encryption, you will need to install protobuf, pycrypto, python-axolotl-curve25519
Yowsup comes with a command-line tool appropriately named; yowsup-cli. For a full understanding of its usage, please visit the yowsup-cli wiki
Registration
As expected, you will need to register your phone. This can be done simply as follows:
yowsup-cli registration -d -E android -m 641 -n 10 -p 256XXXXXXXXX -C 256 -r sms
The arguments explained:
-d For debugging
-E This is the environment. Specifically set this to android. The default will cause you to run into ‘no_route’ errors.
-m This is the MCC for your country. In my case 641 is for Uganda. Use the site: http://mcclist.com/mobile-network-codes-country-codes.asp to locate yours
-n This is the MNC for your Telecom provider. Again, use the site: http://mcclist.com/mobile-network-codes-country-codes.asp to locate yours
-p This is your phone number. Include the country code specified in next option -C
-C This is the country telephone code. In my case 256 is for Uganda.
-r (sms|voice) This is method by which pin code will be sent to you
If execution of the above command is successful, you will receive, either a text message or voice call with the PIN code. Use this code to complete the registration process as follows:
yowsup-cli registration -d -E android -p 2567XXXXX -C 256 -R PIN-CODE
The arguments are similar to above, except for:
– R which allows you to register using the provided PIN-CODE
Once the command above has been executed successfully, the results displayed will look like the following
kind: free
pw: dfggHHSGGdIcdddRN567gjy=
price: US$0.99
price_expiration: 147567899
currency: USD
cost: 0.99
expiration: 4444444444.0
login: 256XXXXXXXXXX
type: new
Take note of the 2 fields: pw and login
Sending Messages
You should now be able to send messages using the command line. Test sending as follows:
yowsup-cli demos -d -l "256XXXXXXXX:dfggHHSGGdIcdddRN567gjy=" -s 256XXXXXXXXX "This is a test – Hello World"
The arguments explained:
-d For debugging
-l login. Enter in format [login:password]
-s The recipient’s phone number
At this point your recipient should be able to receive your message.
For monitoring with icinga2, you will need to create a script using the above command for sending messages. Make it executable and place it in location of your scripts. From, here, setup of icinga2 is like any other as shown in my previous article.
If you need more assistance or are interested in Linux and Open Source stuff, follow me @jzikusooka.
How to install Nginx web server on a Raspberry Pi using sources
For a long time Apache has been the software choice for admins and developers wishing to setup a web server. It is therefore no surprise, that Apache dominates when it comes to the most deployed web server on the Internet today. Take a look at Netcraft’s survey as of January 2015.
I have used Apache since the early days of the Internet, but lately, I’ve noticed its become very bloated. In fact for any embedded developers out there, Apache is these days frown upon, when it comes to arm based devices such as the Raspberry Pi. Here is where Nginx comes in. It is very light weight and fast, and can easily be installed in your embedded and other web server projects. Try it, and you may find yourself liking it so much, that you’ll switch from running Apache in your enterprise or hosting environment.
Nginx is an open source high performance HTTP and reverse proxy server. It is very scalable and very suitable for production environments that need to serve many requests. Compared to Apache, Nginx handles requests using an asynchronous event-driven approach. Apache uses a process/thread oriented approach which makes it unpredictable when it comes to very high loads.
While installation via packages managers such as yum or apt is possible, I chose to install Nginx on a Raspberry Pi using sources. Going the source-install route has some benefits, one of which is that you get the latest version of Nginx, which usually takes sometime to make its way to distribution package repositories. Lets get started with the install.
Download sources:
cd /tmp
wget -c http://nginx.org/download/nginx-1.7.10.tar.gz
tar zxvf /tmp/nginx-1.7.10.tar.gz -C /usr/src
cd /usr/src/nginx-1.7.10
./configure --prefix=/usr/share/nginx --sbin-path=/usr/sbin/nginx --conf-path=/etc/nginx/nginx.conf --with-perl_modules_path=/usr/lib/perl5/auto/nginx --error-log-path=/var/log/nginx/error.log --http-log-path=/var/log/nginx/access.log --pid-path=/var/run/nginx.pid --lock-path=/var/run/lock/subsys/nginx --user=nginx --group=nginx --with-http_addition_module --with-http_auth_request_module --with-http_degradation_module --with-http_perl_module --with-http_flv_module --with-http_geoip_module --with-google_perftools_module --with-http_gzip_static_module --with-http_gunzip_module --with-http_image_filter_module --with-http_mp4_module --with-http_random_index_module --with-http_realip_module --with-http_secure_link_module --with-http_ssl_module --with-http_stub_status_module --with-http_sub_module --with-http_dav_module --with-http_xslt_module --with-file-aio --with-ipv6 --with-mail --with-mail_ssl_module --with-ld-opt="-Wl,-E"
Notice that I added several optional modules, which means any dependencies need to be resolved before you proceed. You can read about built-in and optional modules at: http://wiki.nginx.org/Modules. On Fedora 20 I ran into errors starting nginx, so I added the configure option –with-ld-opt=”-Wl,-E” to resolve it
make && make install
Create the server user and group:
On Red Hat based systems like Fedora, run the following command to add a user and group for the webserver:
useradd -M -r -c "Nginx Web Server" -s /sbin/nologin -d /var/spool/nginx nginx
Setup directory permissions:
Give nginx user the permission to use directories
chown -R nginx:nginx /usr/share/nginx
chown -R nginx:nginx /var/log/nginx
Add the start up script
In order to automatically start nginx at boot time, you will need to setup an init script. Luckily, the folks over at Nginx have put together several star/stop scripts depending on your Linux distribution. You can collect them at: http://wiki.nginx.org/InitScripts
Since Am using Fedora and hence systemd, the following is the start up script:
[Unit]
Description=The nginx HTTP and reverse proxy server
After=syslog.target network.target remote-fs.target nss-lookup.target
[Service]
Type=forking
PIDFile=/run/nginx.pid
ExecStartPre=/usr/sbin/nginx -t
ExecStart=/usr/sbin/nginx
ExecReload=/bin/kill -s HUP $MAINPID
ExecStop=/bin/kill -s QUIT $MAINPID
PrivateTmp=true
[Install]
WantedBy=multi-user.target
Save this file at: /usr/lib/systemd/system/nginx.service.
Enable it to start automatically at boot.
systemctl enable nginx.service.
Testing:
Start Nginx:
systemctl start nginx.service
check to see if Nginx is listening on port 80
lsof -i :80 (You need the package lsof, if not use netstat)
Open your browser and go to:
http://localhost/
You will be greeted by a welcome HTML page.
That’s it for now. Next time, I will take a look at how to configure Nginx, and even enable PHP, so you can install most Content Management Systems (CMS) like wordpress on your web server easily.