
Easily Toggle Audio Between Multiple Streams with My Updated PipeWire based Tool
I have updated a tool that I find very useful, especially when watching or listening to multiple streams at the same time. For example, I often have Live TV, podcasts, or music playing on my Linux PC. Sometimes, I want to quickly switch which stream I hear without stopping the others.
With this tool, you too can now easily cycle through all your active media apps (like VLC, MPV, or FFPLAY) and mute or unmute them so that only one is audible at a time. The other streams keep playing in the background, but you won’t hear them until you toggle to them.
This is perfect for following several live TV channels during news hour or switching between music and podcasts without missing anything.
If you use GNOME, you can even set a keyboard shortcut to make switching super fast!
I’m still working on improving this tool, so if you have any suggestions or find any bugs, please let me know. You can check out the project and download it from my GitHub repository.
https://github.com/zikusooka/toggle-pw-volumes
Enjoy, and happy streaming!

Buildroot and GCC 15: Fixes for m4 and Other Packages
This week, I tried using Buildroot on my new Fedora 42 system, which comes with GCC 15. Right away, the build failed when compiling the package host-m4.
After looking into it, I found that GCC 15 has stricter rules that cause some Buildroot packages to break-not just m4, but also others like gmp. This means if you are using Buildroot on a Linux system with GCC 15, you might run into similar problems.
What to do?
There are patches available to fix these issues, including one I submitted for m4. You can find them here:
https://lists.buildroot.org/pipermail/buildroot/2025-April/777274.html
What’s next?
Hopefully, these problems will be fixed in the official Buildroot updates soon. Until then, applying these patches will help you build successfully with GCC 15.
If you use Buildroot with the latest Linux and GCC versions, keep an eye out for updates and patches like these!
Update [May 5, 2025]:
This patch has now been committed upstream to buildroot.
It will be applied as a workaround only when host gcc 15 is detected.
For more details, please check the full commit here:
https://gitlab.com/buildroot.org/buildroot/-/commit/7a07a9d155b8f601d68f07ee0ed1dc8d48907644
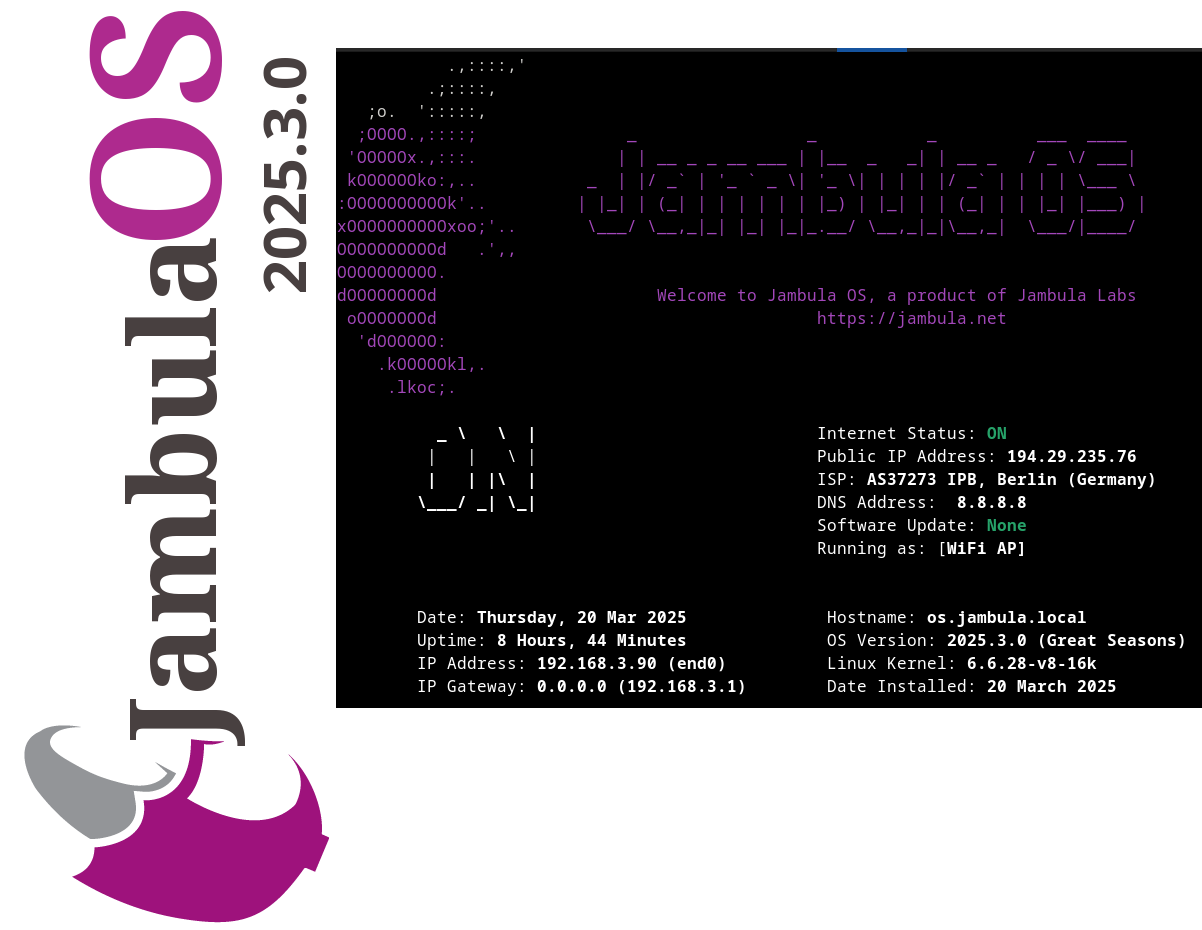
Releasing Jambula OS Linux – version 2025.3.0
🚀 I have uploaded the latest image of Jambula OS Linux version 2025.3.0 (Great Seasons)! 💻✨
While this is mostly a maintenance release, I’ve snuck in some exciting features like:
✅ Remote connections just got easier with Tailscale support! 🌐
✅ Audio calendar alerts are now possible with Radicale 📅🔔
✅ Nginx web/proxy server support 🖥️
✅ Geolocation tool to help you pinpoint device location 📍
For more information about Jambula OS Linux, including instructions on how to download and install it, please visit:
https://github.com/zikusooka/Jambula-OS
A recap of my presentation at FOSS Backstage 2025
Here’s a summary of my presentation delivered during the FOSS Backstage 2025 conference in Berlin, Germany. For a deeper dive into the points outlined below, please refer to the official recording of my talk.
Why Are There Low Adoption Rates for Open Source Software in Africa?
- Lack of awareness and motivation for those who know.
- Prestige associated with using software from larger, well-known vendors.
- Vendor lock-in and aggressive marketing by proprietary companies targeting governments.
- Limited availability of certified and experienced FOSS/Linux professionals.
- Prevalence of software piracy.
- Fragmented or non-existent FOSS communities.
More Barriers to Adoption of Open Source Software in Africa
Infrastructure Challenges:
- Internet connectivity issues.
- Unstable and unreliable power supply.
- Lack of resources and funding.
- Systemic corruption.
Why Bother with FOSS Adoption in Africa?
- Africa accounts for 18% of the world’s population (1.5B+), with some of the fastest-growing economies globally.
- By 2025, 12 of the world’s 20 fastest-growing economies are projected to be in Africa.
Benefits of FOSS Adoption:
- Lower costs.
- Skilling and narrowing the digital divide.
- Startups and job creation.
- Empowerment through access to free resources.
- Localized innovations driving growth in key sectors.
Key and Strategic Sectors in Africa for FOSS Adoption
- Mining
- Agriculture
- Tourism
- Startups/SMEs (e.g., Banking, Film & Music Industry)
- Education
- Health
- Research
- Environment
Enablers and Implementers of Open Source Software Adoption
- Advocates/Evangelists: Promote FOSS use in sectors like government, health, and education.
- Trainers/Educators: Teach FOSS concepts (e.g., Linux).
- Community Leaders: Lead FOSS communities.
- Software Developers: Create and maintain open-source software.
- Vendors/Integrators: Include Linux distributors and organizations promoting FOSS.
Strategies for Stakeholders
For Advocates:
- Timing
- Focus
- Campaigns
- Showcase (e.g., trade shows)
- Share and evangelize
For Trainers/Educators:
- Localize content
- Contextualize teachings
- Port content
- Adapt materials
- Evangelize
For Community Leaders:
- Assess needs
- Partner with stakeholders
- Fundraise and support initiatives
- Host events
- Engage strategic sectors
For Software Developers:
- Solve immediate problems.
- Localize solutions.
- Enable workarounds.
- Use free and open licenses.
- Adapt bravely.
For Vendors:
- Provide support.
- Engage with local FOSS advocates and communities.
- Partner with startups to promote FOSS.
- Certify professionals.
- Establish local FOSS incubators.
Conclusion
I am optimistic that the next decade will see a significant increase in open source software adoption across Africa, unlocking its potential for economic growth and innovation in key sectors.

Increasing Adoption of Free Open Source Software In Africa
I recently spoke at FOSS Backstage 2025 on strategies for boosting open source software adoption and empowering local communities in Africa.
I have uploaded the slides. A video of this event will be published in the coming weeks.

Jambula OS Linux – Version 2025.1.0 Released
I have just compiled and released a new image for Jambula OS Linux version 2025.1.0! This exciting update features a range of innovative enhancements, including:
🌟 Seamless integration with the latest Home Assistant smart home software
📅 Radicale, the lightweight and powerful CalDAV/CardDAV server for all calendaring needs
🎵 A local music server that supports audio announcements and alerts
🕰️ A talking clock feature that announces the time at hourly intervals
🌦️ Periodic weather updates delivered through voice alerts tailored to your location
📷 MQTT-based triggers activated by motion detection from the built-in camera server
For more information about Jambula OS Linux, including instructions on how to download and install it, please visit:
https://github.com/zikusooka/Jambula-OS

Hass Core Installer, a new Home Assistant Installer and upgrade tool for Linux
I’m excited to announce that I have uploaded a new tool called HASS Core Installer. As you have guested, its a handy tool that makes it very easy to install, upgrade, and uninstall Home Assistant Core on Linux. So weather you are a beginner, intermediate, or advanced Home Assistant user, this tool is just what you need if any of the official and recommended methods are not sufficient for your use case.
I initially developed this tool for use on Jambula OS, a custom tailored Linux operating system designed for SoC devices such as the Raspberry Pi. However, you can use it on any Linux distribution such as Ubuntu, Fedora, OpenSUSE, Ubuntu, Debian etc.
HASS Core Installer also works off-line allowing for local installations and upgrades of Home Assistant in scenarios where there’s no access to the Internet.
To get started or contribute to this project, check out the HASS Core Installer repository on my Github!
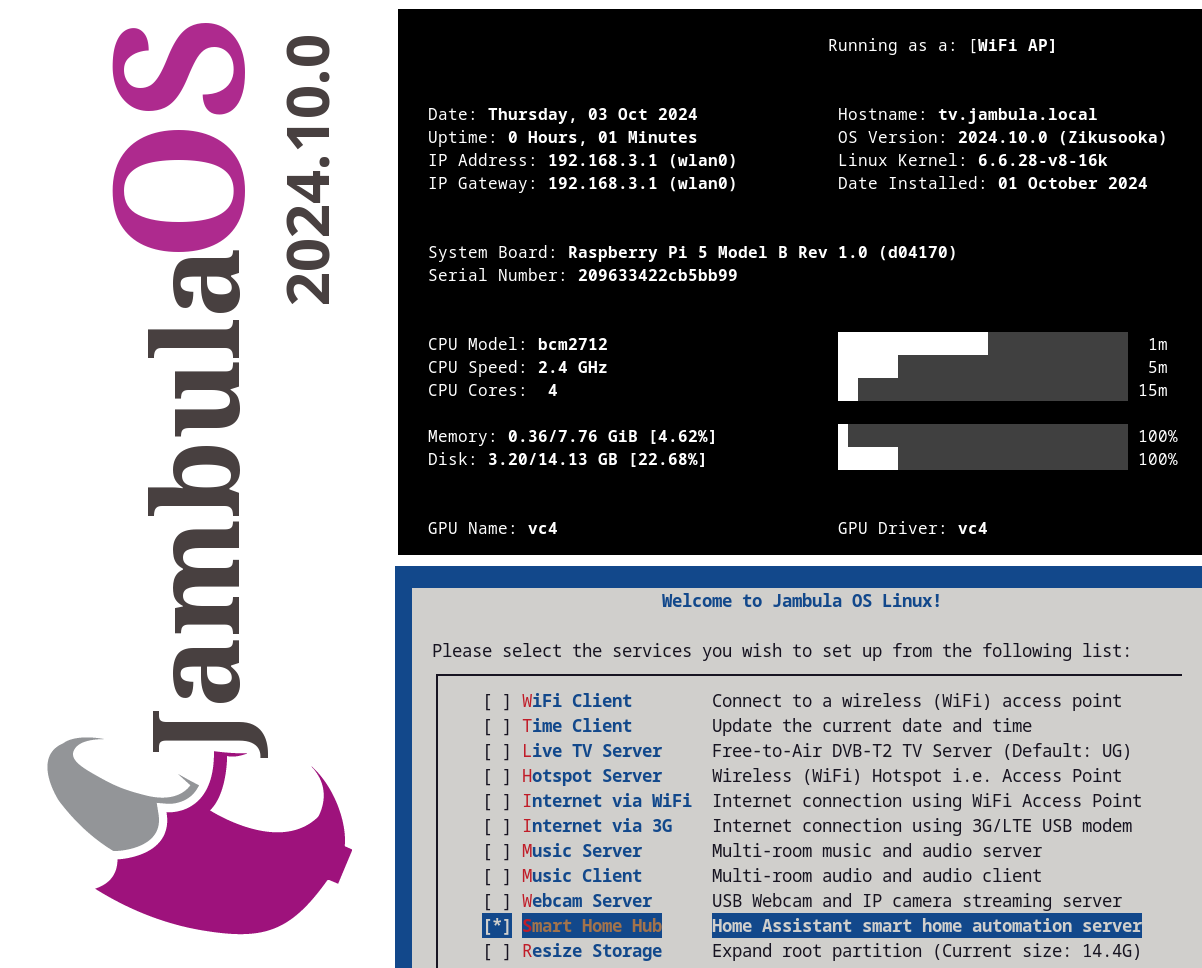
Jambula OS Linux now offers support for Home Assistant
🚀✨ Exciting news for smart home enthusiasts! I have added support for Home Assistant Core installs & upgrades to Jambula OS (starting with version 2024.10.0) 🎉
⚙️ Jambula OS is a custom Linux operating system 🐧 designed specifically for SoC devices like the Raspberry Pi 5
⬇️ You can download it here: https://github.com/zikusooka/Jambula-OS/
🏡 Upgrade today and kickstart your journey to creating a private, offline smart home 💡hub!
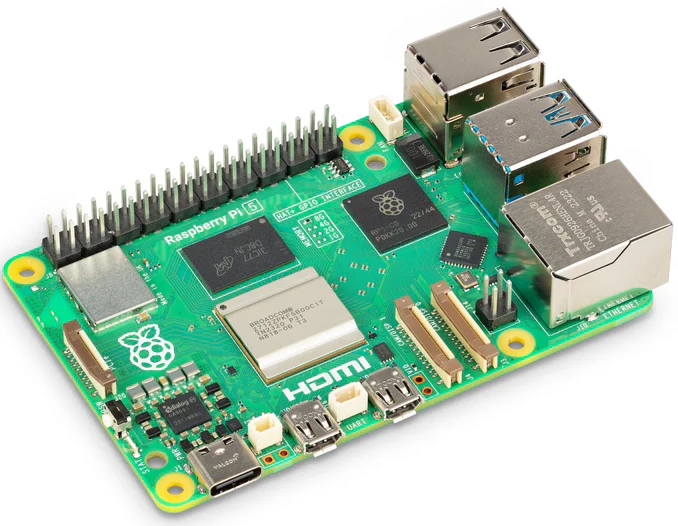
Jambula OS Linux now supports the latest Raspberry Pi 5
I have uploaded the newest image of the Jambula OS Linux which supports the latest Raspberry Pi 5 Model B. You can download the image from : https://github.com/zikusooka/Jambula-OS
Jambula OS, a custom Linux distribution used primarily on embedded and SoC based devices such as the Raspberry Pi.
Linux TIPS
- Loading Mastodon feed...